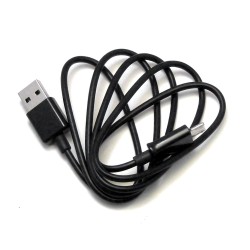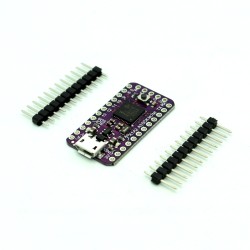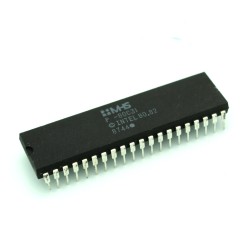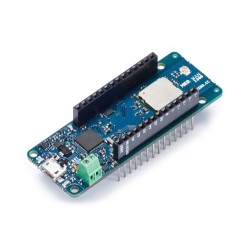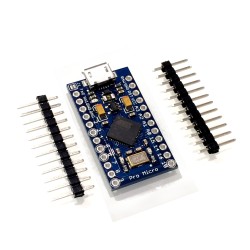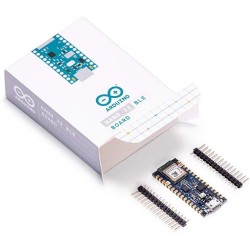
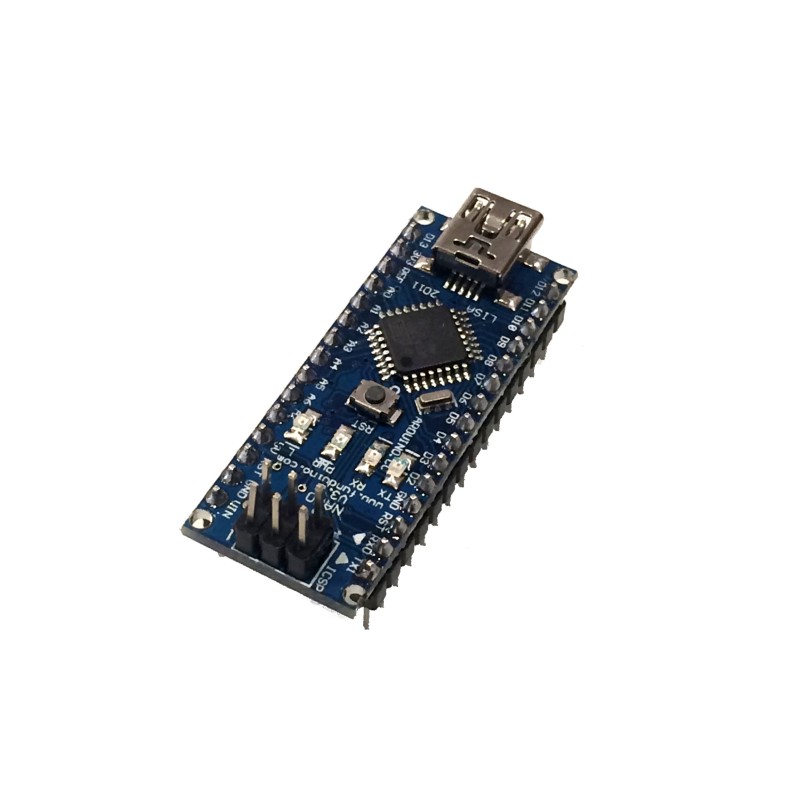

Save space with this Arduino-Compatible Nano! Fully Arduino Compatible so all your Arduino programs will run just the same in a tiny form factor! Plug in a mini USB cable and you're good to go! Replaces Arduino Nano 328.
 Security policy
(edit with the Customer Reassurance module)
 Delivery policy
(edit with the Customer Reassurance module)
 Return policy
(edit with the Customer Reassurance module)
This Arduino-compatible Nano is a great alternative to an Arduino UNO in your projects. Comes pre-soldered so you can just download the drivers and pop onto a breadboard! Power using a 7V-12V power supply or via mini USB and that's it! Wire into your circuit using the pin diagram in the images above and plug into your computer's USB port to program!
Features:
Specifications:
Initial Setup:

Save space with this Arduino-Compatible Nano! Fully Arduino Compatible so all your Arduino programs will run just the same in a tiny form factor! Plug in a mini USB cable and you're good to go! Replaces Arduino Nano 328.